Introduction
If you grow your own fruits and vegetables, you know how exciting it is when your garden bursts into production. But sometimes, the harvest comes all at once, and there’s only so much you can eat fresh. That’s where preserving comes in. By learning how to can, freeze, and dry your produce, you can enjoy the taste of summer all year long—and reduce food waste, too.
This post is a practical guide to preserving the bounty from your garden, with step-by-step instructions and real-life experiences from my own kitchen here on the Big Island of Hawai‘i. I’ve experimented with all three methods and have learned what works well (like pickled peppers!) and what’s still on my to-try list (pressure canning, anyone?). Let’s dig into the details!
Canning: A Shelf-Stable Classic
Water Bath Canning
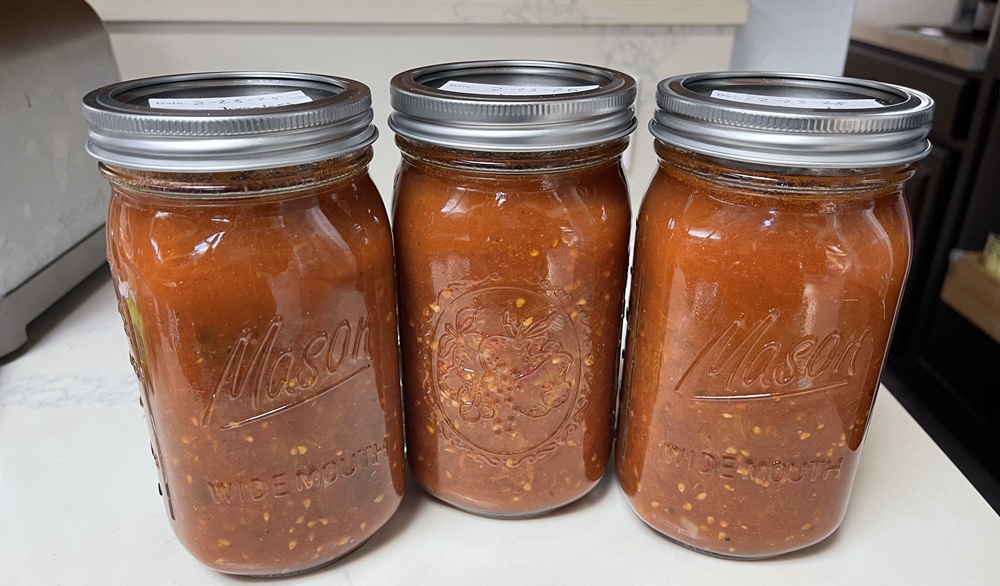
Water bath canning is perfect for high-acid foods like tomatoes, fruit jams, and pickles. This year, I finally bought a water bath canner and tried my hand at canning tomatoes—and they turned out great! There’s nothing like opening a jar of homegrown tomatoes in the middle of winter.
What You Need:
A water bath canner (large pot with a rack)
Canning jars with lids and bands
Jar lifter and funnel
Clean towels
Step-by-Step:
Prepare your jars: Wash in hot, soapy water and keep them hot until ready to use.
Prepare your produce: Wash and chop as needed. Follow tested recipes for acidity and safety.
Fill the jars: Leave the correct headspace (usually ½ inch for tomatoes).
Remove air bubbles: Run a spatula around the inside edges.
Seal and process: Wipe the rims, apply lids and bands, and boil jars for the recommended time.
Cool and store: Remove jars, let them cool for 12-24 hours, then check the seals before storing.
Pickling
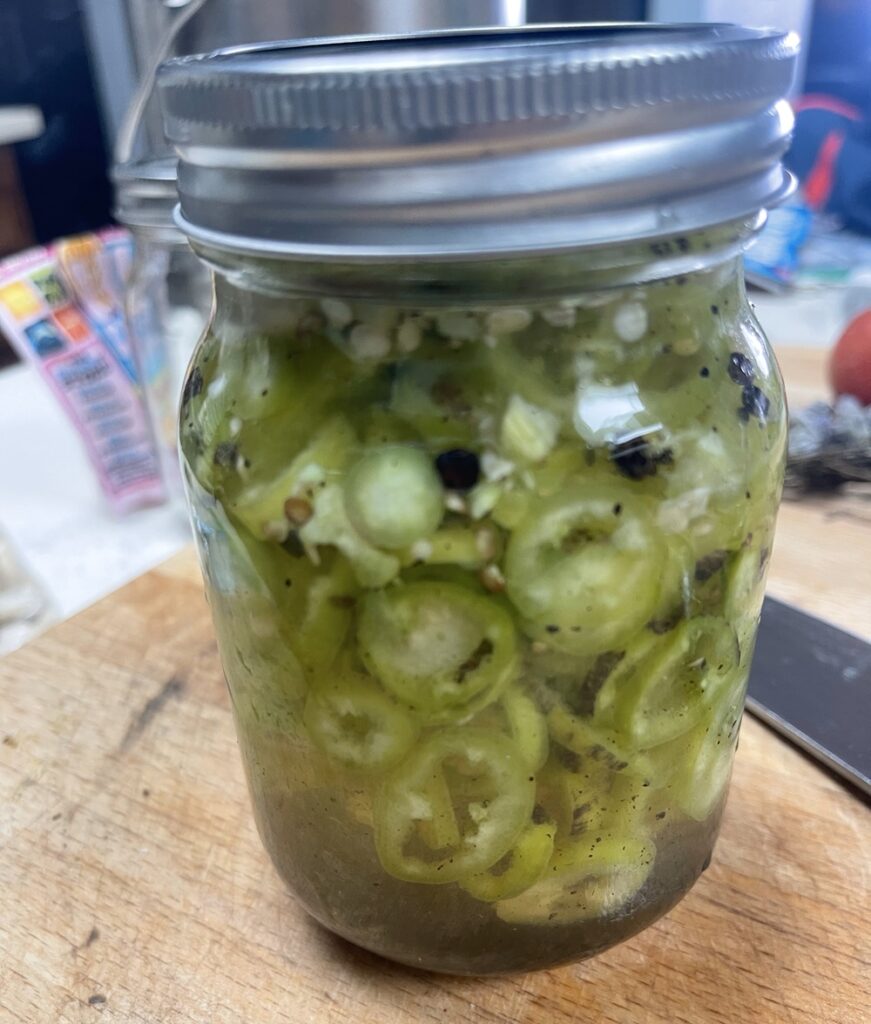
Pickled peppers are one of my favorite things to make. I use my own banana peppers, jalapeños, or my favorite- the sugar rush peppers, and follow a vinegar-based brine recipe. They’re quick to make, keep beautifully, and add a zing to any dish.
My secret ingredient? black tea leaves! The tannins in the tea keep the veggies crunchy longer. I just open a black tea bag and put about a teaspoon of the leaves into each pint jar.
Pressure Canning (Still on My List!)
Pressure canning is used for low-acid foods like green beans, carrots, and meats. It involves higher temperatures than water bath canning to kill bacteria like botulism spores. I haven’t taken the plunge yet, but it’s something I plan to try next season when I have more produce to preserve.
Tip: Always use trusted recipes from sources like the USDA or Ball® Canning to ensure food safety.
Freezing: Quick and Convenient
Freezing is one of the easiest ways to preserve your harvest, and I do it all the time. It’s fast, doesn’t require much equipment, and works for a wide range of fruits and vegetables.
What You Need:
Freezer-safe containers or bags
Labels and a permanent marker
Baking sheet for flash freezing (optional)
Best Produce for Freezing:
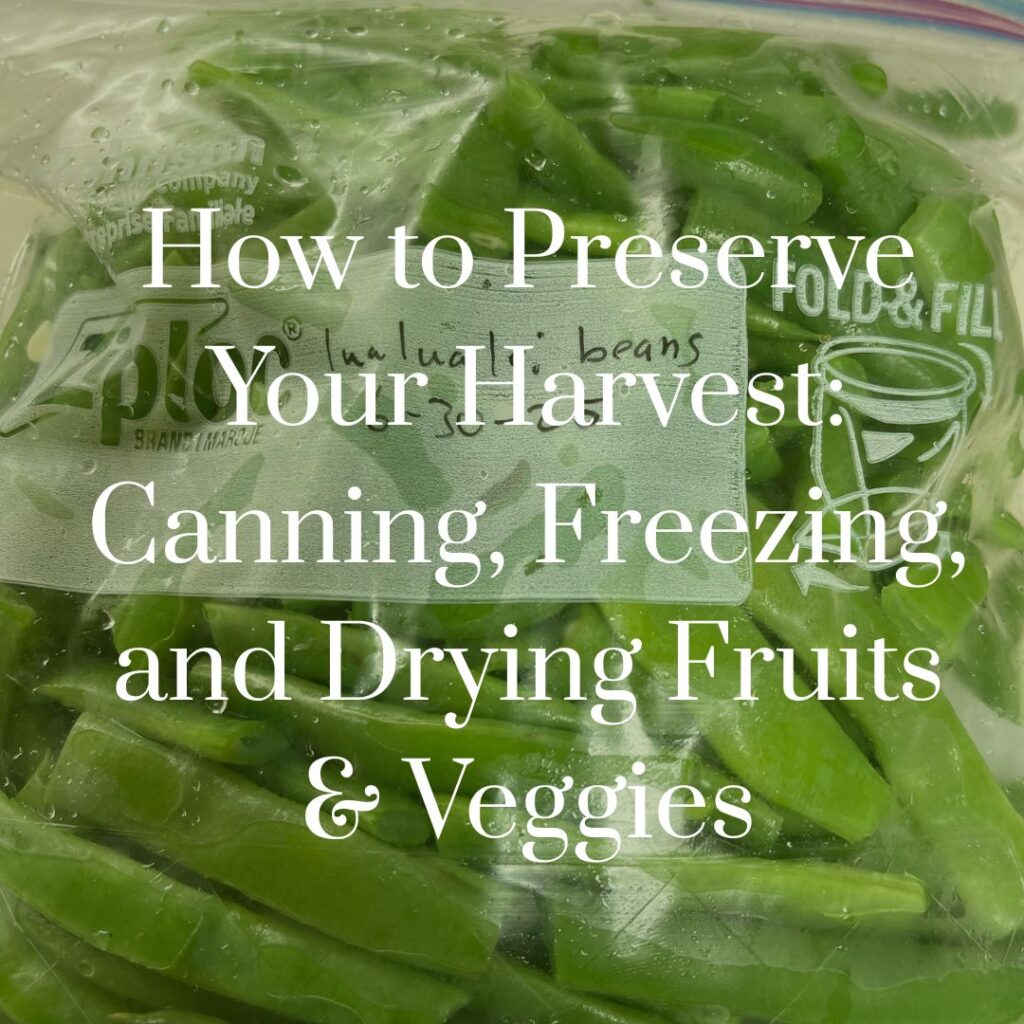
Green beans (blanch first)
Tomatoes (whole or in sauce)
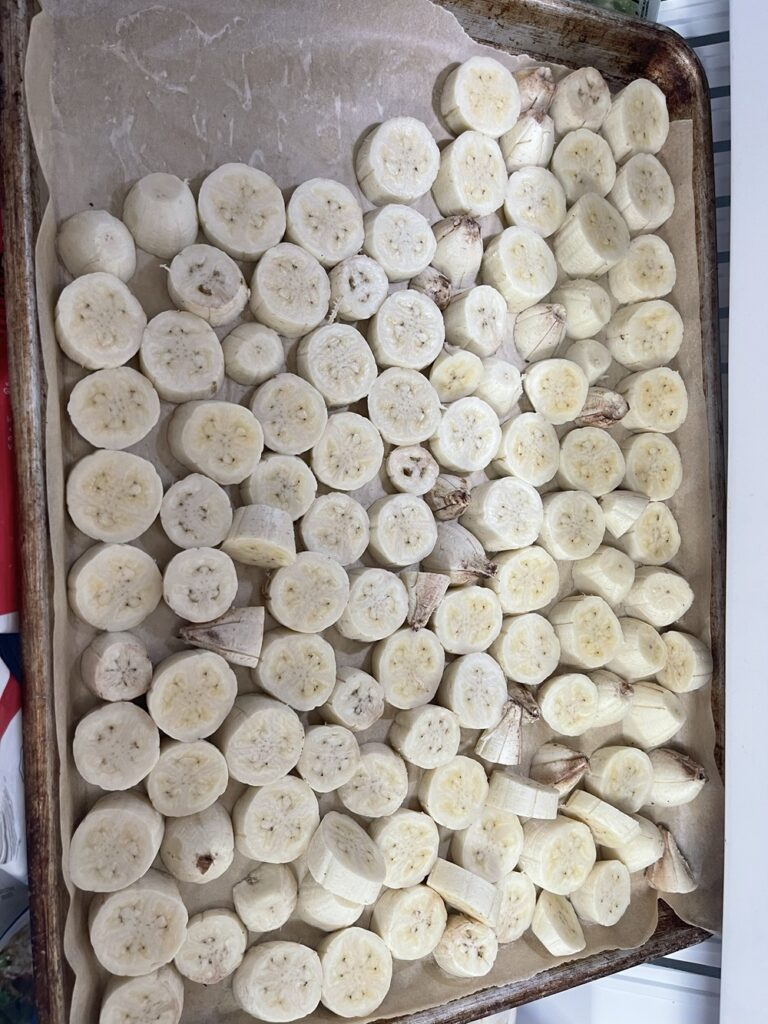
Berries and bananas (freeze on a tray, then bag)
Peppers (raw or roasted)
Herbs (chop and freeze in oil or water in ice cube trays)
I love freezing chopped tomatoes to toss into soups and sauces. Green beans, pre-blanched and bagged, are a staple. I like to freeze bananas on a baking sheet in a single layer so I don’t end up with a giant block of banana that I can’t break apart. I always label bags with the date and contents—freezer mystery bags are no fun!
Watch Out for Freezer Space
The only downside is space. My freezer fills up quickly, especially during peak harvest. I’ve learned to prioritize what I freeze and rotate older bags forward so nothing gets lost (most of the time).
Avocados: A Toss-Up
I tried freezing avocados once and wasn’t a fan of the texture when thawed. I’m a bit of a guacamole connoisseur (aka- I’m picky about my avocados!). I know others who swear that previously frozen avocados are great, though—so it’s a personal preference.

Drying: Easy, Long-Lasting, and Portable
Drying is a fantastic way to preserve herbs, fruits, and even some vegetables. I use a small food dehydrator and love the simplicity of this method.
What You Need:
A food dehydrator or an oven
Airtight containers or jars
Labels
Best Things to Dry:
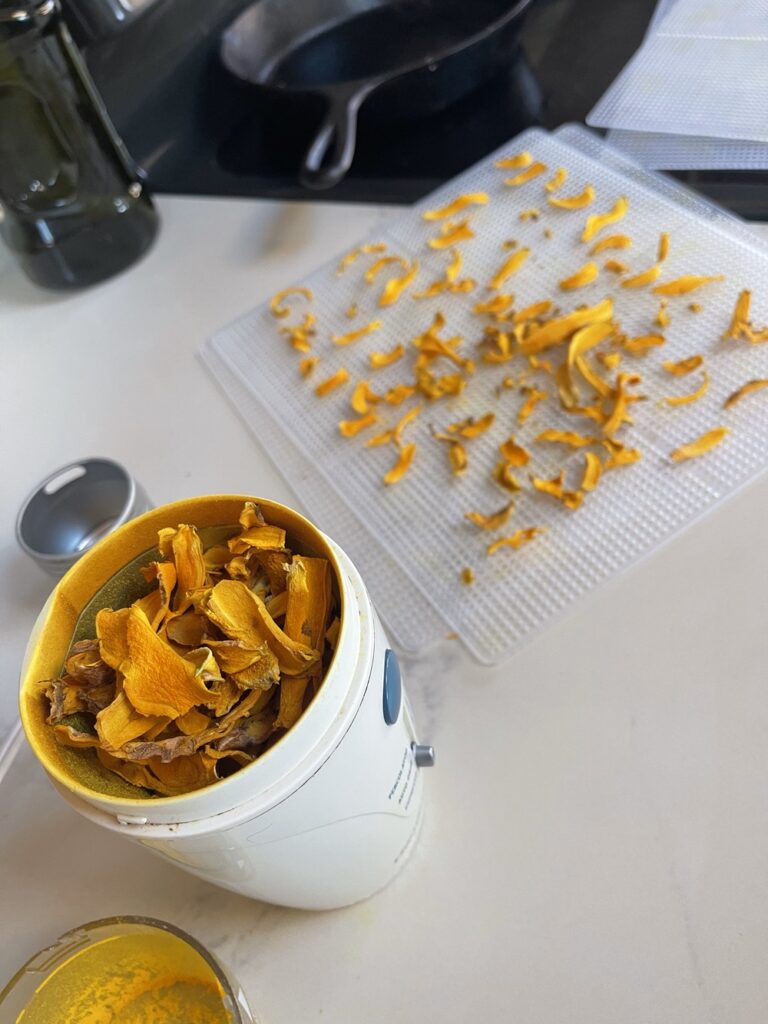
Herbs: basil, oregano, mint, lemon balm, rosemary, turmeric, ginger, etc.
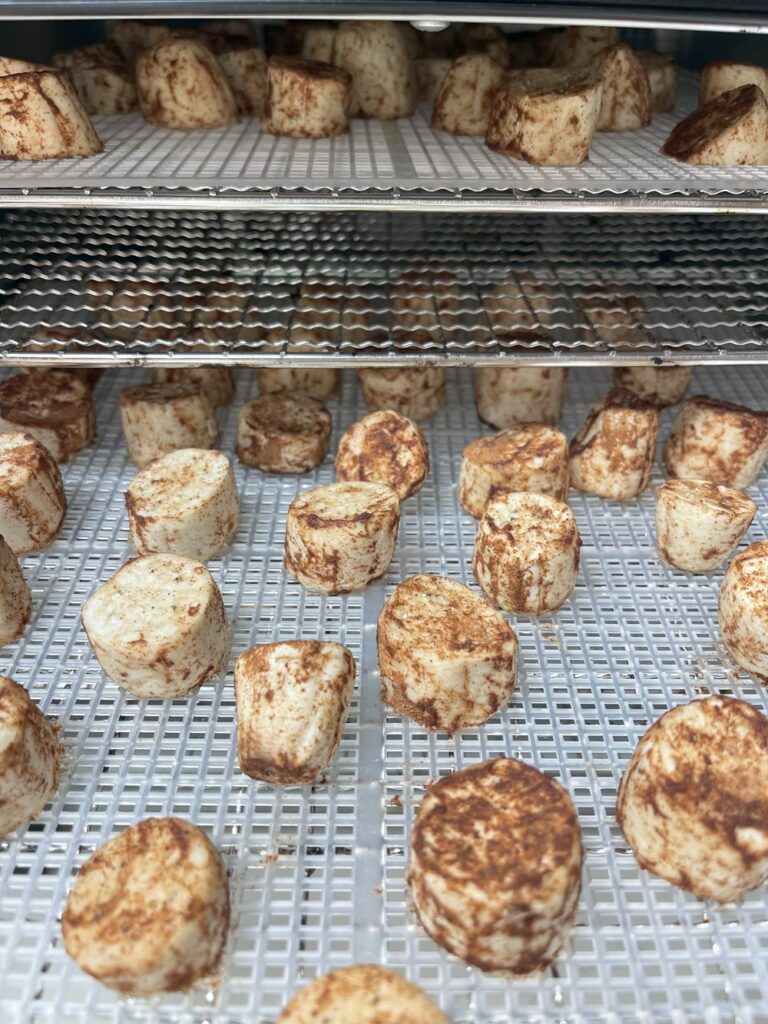
Fruits: bananas, mango, pineapple, apple slices, etc.
Vegetables: tomatoes, zucchini, chili peppers, etc.
I regularly dry herbs from my garden and use them year-round. Dried bananas are a family favorite snack and are super easy to make in small batches. Just slice them, arrange on dehydrator trays, and dry until leathery but not crisp. We love them with a bit of lime juice and cinnamon added.
If you live in a low-humidity area, you can even dry herbs by hanging them in the open air and leaving them for a few days or weeks. Obviously, Hawaii is not a low-humidity area, so I always use a food dehydrator or the oven. Store your dried goods in airtight jars in a cool, dark place.
Final Thoughts
Preserving your harvest is one of the most satisfying parts of gardening. There’s something deeply rewarding about opening a jar of pickled peppers you made yourself or cooking dinner with veggies from your freezer in the middle of winter.
If you’re just starting, pick one method and try it. Freezing is the easiest entry point, but canning and drying offer more shelf-stable options and open up a whole world of recipes and flavors. As someone who’s learning right alongside you, I can tell you the small investment of time and equipment pays off in flavor, self-sufficiency, and a little extra joy in every meal.
Want more gardening inspiration? Join the Adventures in Botany Community and connect with fellow plant lovers! Follow us on, Instagram, TikTok, and YouTube for more gardening tips, DIY projects, and nature-inspired content.